
Loop Controls & Settings
Move cleanly, see farther, and set comfort options before long Alpha sessions.
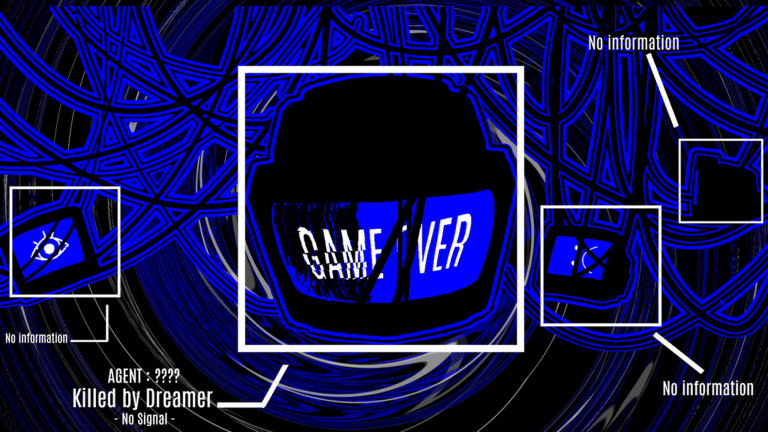
Clean inputs save more Days in Loop than clutch last-second sprints. This guide covers PC and mobile movement expectations for the Roblox Alpha, recommended graphics for liminal darkness, and accessibility notes — including a clear flashing lights / strobing warning. Pair it with Getting Started if you have not survived your first full Day yet.
Loop [ALPHA] (early access since 2026-08-21, by Gazing at the Moon / Runaaruu) can still remap UI labels between patches. If a button name differs slightly, use the function described here and check Updates after major patches.
Accessibility and health warnings
Warning: Loop uses sudden entity reveals, dark-to-bright contrast, anomaly screens such as PopUp.exe, and failure states that can include a Blue Screen style presentation. Players sensitive to flashing lights, strobing UI, or abrupt full-screen color shifts should enable any Roblox reduced-motion / comfort options available on their device, lower screen brightness spikes carefully (without making corridors unreadable), and take breaks. If you feel eye strain, stop — badges can wait.
Co-op lobbies (up to 30) add overlapping flashlights, explosions from MineSpider, and stacked UI. Sensitive players may prefer smaller private servers while learning.
PC controls (typical Roblox defaults)
Exact bindings follow your Roblox client, but expect:
- WASD — move through corridors and open liminal rooms
- Mouse — look / aim flashlight cones when light is equipped
- Shift — sprint when stamina or default Roblox sprint is enabled
- Space — jump only when the layout allows; many liminal floors punish pointless hopping near edges
- E or proximity prompt — interact with missions, shop terminals, EXIT, and anomaly objects
- Numbers / hotbar — swap held items (flashlight slots matter because you can hold two)
Rebind in Roblox settings if you need left-handed mouse or non-QWERTY layouts. Keep interact on a comfortable key; missed EXIT confirms and failed PopUp.exe windows often come from slow prompts, not lack of knowledge.
PC quality-of-life
- Cap FPS only if heat throttling causes stutters mid-chase.
- Disable heavy overlays (Discord, GPU popups) that steal focus during anomaly QTE-like moments.
- Use wired audio if you rely on footsteps or cue stingers — many players hear MineSpider or Smiler pressure before they see it.
Mobile controls
On touch:
- Left stick / dynamic thumb zone — movement
- Right drag — camera
- On-screen jump / sprint — as provided by the experience or Roblox defaults
- Tap prompts — interact when near mission objects, shop, EXIT, or anomalies
Thumb placement tips:
- Sit camera slightly higher so Smiler faces clear the bottom UI chrome.
- Keep the interact button uncovered by your sprint thumb.
- When holding a flashlight, practice strafing while keeping the beam on the threat — see How to Stun Smilers.
- If co-op voice is unavailable, use quick chat or pre-agreed pings for Standing Man doorways.
Mobile thermal throttling is common during long Day pushes toward badges on Day Progression. Lower shadows before you lower resolution if you must trade quality for stable frame times.
Recommended graphics for Loop
Goal: maximum readability, not cinematic blur.
- Raise Graphics Mode / Quality Level as high as you can while holding a stable frame rate in a 30-player server.
- Prefer settings that preserve light contrast and sharp silhouettes over decorative effects.
- Turn off excessive bloom if it washes out flashlight edges — your beam is a gameplay tool, not only mood.
- Keep UI opacity high enough to read mission text under stress.
- On low-end hardware, reduce leave-behind effects first; keep entity meshes and lights prioritized.
Dark maps punish potato mode. Players who “save performance” by crushing quality often die to threats they literally cannot resolve visually — especially idle Standing Man shapes that blend into geometry until lethal range.
Flashlight as a control surface
Treat the flashlight like an aimable resource:
- Toggle or ready it before entering long dark halls.
- Remember the two-flashlight carry rule when shopping — second light is a control advantage for you or a teammate.
- Do not pointlessly spam the beam if animation locks slow your turn rate (verify feel in a safe lobby).
Shop purchases that affect light, speed, or interact range change how controls “feel.” Economy context lives in Getting Started and challenge constraints on Day Progression.
Movement discipline that prevents deaths
- Clear corners with camera leading your body; liminal rooms hide Smilers in negative space.
- Do not huddle on MineSpider — explosions punish stacked co-op bodies.
- Respect idle actors — Standing Man is deadly despite low animation drama.
- Abort sprints into unknown doorways when missions do not require the room yet.
- Pause for PopUp.exe — failing the anomaly can Blue Screen the run; frantic WASD will not help if the interactable needed a careful response.
EXIT and menu inputs
When you find EXIT, approach with controlled movement and confirm the prompt deliberately. Panic jumps can bounce you off the interact volume. Full decision framework: How to EXIT.
Menus for shop and (eventually) codes should be opened in safe rooms. Redeem preparation is on How to Redeem Codes; the Codes Hub still shows no active promos as of our latest documentation.
Practice routine (10 minutes)
- Join a low-population server.
- Walk a familiar hallway practicing camera lead on both PC and mobile if you dual-wield devices.
- Equip flashlight and track a wall seam while strafing.
- Interact with a shop or harmless prop ten times to build prompt muscle memory.
- Review mission text without moving — reading while sprinting causes missed turns.
Then return to real Days via the Guides Hub path that matches your goal: missions, Smilers, or badge hunting.
Summary
Loop controls are mostly standard Roblox movement plus high-stakes interaction timing. Your edge comes from settings that reveal threats, thumbs/keys that never miss prompts, and movement habits that respect Smilers, MineSpiders, Standing Man, and anomalies. Configure once, then let practice make the scary ordinary.
Frequently Asked Questions
Quick answers to the most common questions.
What graphics settings should I use for Loop?
Prioritize high quality and clear lighting so silhouettes and flashlight beams stay readable. Only lower settings if frame rate collapses in full co-op servers.
Does Loop have flashing lights?
Yes — expect sudden reveals, anomaly UI such as PopUp.exe, and Blue Screen style failure states. Take breaks and use comfort options if you are sensitive to strobing or abrupt flashes.
Are mobile controls viable for high Days?
Yes, with careful thumb layout and thermal management. Practice flashlight strafing and keep interact buttons reachable during chases.
Where do I learn Smiler flashlight technique?
See How to Stun Smilers after you are comfortable with basic movement on this page.